
Countdown Clock using ESP32 Microcontroller & Neopixels
This was a project I inherited from one of our interns at work. The scope was to build “A countdown clock for rocket launches”
The concept was to use off the shelf 7 segment displays, however we discovered it was quite difficult to find large 7 segment displays in any other colour than red. I suggested using Neopixels and the FastLED Library and offered to write a library to make the Neopixel digits behave like a 7 segment display.
At the time, I had only just started writing libraries, and I had no idea how to include another library into my own library, so I ended up writing a short sketch that took a number in and displayed it on a single digit I mocked up on acrylic sheet. It worked very well so my plan was adopted and our intern started work on designing the clock and ordering the parts.
Meanwhile, I had just started learning to use inventor, so I mocked up a couple of my own designs for the clock. My first design was influenced heavily by Eve from Wall-e.


Although I really liked this design, It was decided that forming the white outer case would be very difficult, and a while acrylic material would be easily scuffed and marked, so a more natural finish was decided upon.
This design used a series of interlocking wooden sections laser cut from 6mm wooden sheets, and the clock face would be laser cut from acrylic. The whole assembly would be fastened with 8 wood screws to hold the interlocking sections together. I used lessons I had learned designing the MadAmp box, I wanted to make this fit together with much less work sanding and drilling holes.

This was my final input into the physical design of the clock, the final models and parts were designed and sent off for fabrication by our summer intern.
After a monumental effort soldering up all the individual strips of LEDs to form the entire clock, our interns’ summer of work was finished, and it was left to me to finish writing the code and assemble the loose collection of parts slowly being delivered to the workshop into the finished clock.
It was about this stage that I ended up having to redo a huge amount of the soldering, as the header sockets we had used were useless and kept losing connections. Luckily at this point I had another intern to help, and between us we managed to get the clock fully wired up, and I put together a small board to hold the microcontroller and split the power supply between each digit.


By now I had learned how to incorporate other libraries into my own, so I ended up writing pixelSevenSegment.h, based on the FastLED library. This handled the display side of the clock, as long as could pass time values in hours, minutes & seconds, it was easy to convert them into the clock display output.
Writing a Simple Clock Library
The next step was to write a library to handle clock functions. To start with I tried decrementing a counter every 1000 milliseconds, but this had the rather embarrassing issue of displaying 00:00:00 at T = 0 for 2 consecutive seconds, so every time displayed after T = 0 was a second delayed.
To solve this and make the timing more robust and accurate. I changed the clock to count milliseconds between the start of the countdown, initialMillis and the current time using the millis() function. The difference between the figures would tell me exactly how much time had passed. To make this work, I started with an algorithm to turn a time in hours, minutes & seconds into a total milliseconds value. All the maths are performed in milliseconds, and then I use a 2nd algorithm to change it back to hours, minutes and seconds.
This did not solve my double zero problem.
I traced this back to the rounding errors in my algorithm. I was relying on the fact that my divisions were cutting off the decimal points and not rounding them. This works great as I am counting down, as any remainder from dividing milliseconds into hours equates to the minutes and seconds remaining on the clock, likewise doing the calculation again for minutes leaves a remainder for seconds, so in this case I do not want to round my numbers after dividing them. However, as the clock passes zero, my algorithm that always rounds down is still rounding down, making it display zero for two consecutive seconds. The solution turned out to be very simple:
If (hours == 0 && minutes == 0 && seconds == 0){
initialMillis = initialMillis – 1000;
}
It needed some additional flags to make sure this only happened once, but it worked! This method also ensured the maths remained correct after pausing and restarting the clock.
Writing the GUI & Web Server
With my clock library finished, and the display library finished. The last part of the puzzle was the GUI. My idea was to use a web server running on the ESP32 microcontroller, which would be accessed through any browser by connecting a mobile device to the ESP32 configured as a WiFi access point. This allows the to user change the time, start and stop the countdown.
I didn’t get as far as writing a library for this, but I did manage to take some specific code written for an RGB mood light controller, and modify it so I had generic functions for “a button” or “an input box” which could be called as a function, inside a sketch printing text to an HTTP client.
The current data values, data identifiers & ranges, and the text for the buttons can be passed as arguments to these functions.
Now I can quickly create buttons and text boxes with custom functions for the GUI.

I followed a similar process with the functions to read and parse the data returning from the client as HTTP headers, by passing the data identifier as an argument to the function.
This framework enabled me to specify custom buttons & text boxes, and the means to extract the boolean variables or the data input into the boxes by the user from each object, by calling just two standardised functions for each object. This will make future customisation or reuse of this GUI simple and easy.
One of the major drawbacks of this method, was the use of a static server, as it made it very difficult (i.e. I tried and failed) to implement a dynamic clock on this GUI. This means the user cannot see the live state of the clock until some data packet is sent, and a fresh page is served to the user, giving them a snapshot of the current state at the time the HTTP request is answered. This is less than ideal for a user who is not able to see the clock display, so this is something I would like to revise later.
Finishing Assembly
At this stage it was just a case of tying everything together and getting it all working at the same time. First was finishing the mechanical assembly of the box, the acrylic faceplate and diffuser with the LED boards, and plugging all the flying leads from the LEDs into the microcontroller board. This board was cable tied using sticky pad mounts to the back plate of the clock.


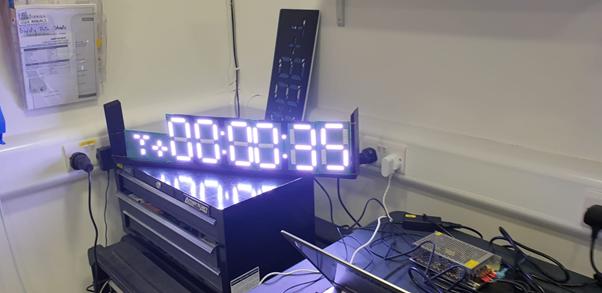
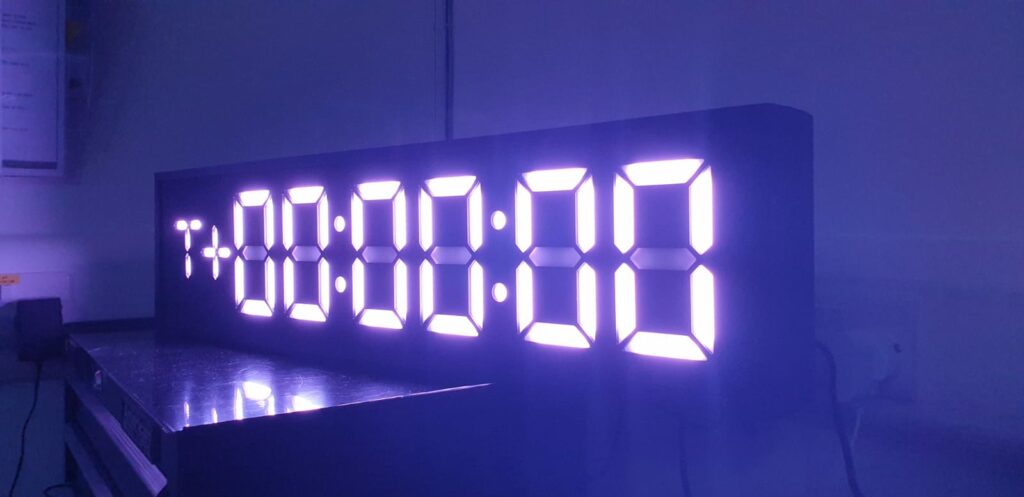
I wanted to use different colours to make T = 0 into an event, so the countdown is in a fresh sky-blue, at T = 0 the clock turns a brilliant white.

To expand the sevenSegment.h library, I included a few other characters that could be displayed. These could be used for animations during startup, or for scrolling text.

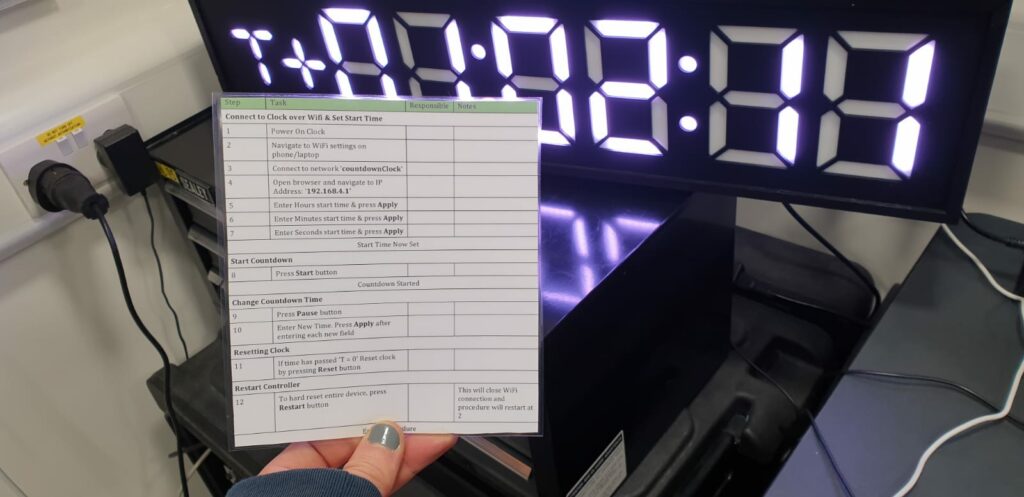
After all the click-clack (Industry term for Computer Programmers) work was done, The final step was to write the procedure for operating the clock. Hopefully with these instructions, even a cling-clang (Mechanical Engineer) should be able to operate and use the clock.
For full source code, check out my github repo.


NASA took pains to keep the scene basically the same, with the clock and flag pole, according to Diller. Apollo 17 s launch on Dec. 7, 1972, marked mankind s last trip to the moon and the last crewed capsule to leave Earth s immediate vicinity.
Hi,
I would like to so a similar project to yours, where can I found the codes, components….
Thanks !
HI
the link to ur code is broken
any other way to get this code?
Rocket Launch Countdown Clock
(ESP32_Server_Clock)
THANK YOU