What Exactly is GitHub & Why Should I Use It?
GitHub is simply a cloud storage solution for our code and projects. Think of it like dropbox for code.
Now why do we want to use GitHub? Well, there are several advantages:
Backup
This one is kind of obvious really, why have all our hard work saved on a single disk drive or SSD where it could get damaged or fail? GitHub gives us our own cloud repository to act as a backup for any of our local machines. Now we never have to worry about losing years’ worth of work! Backup your work!
Version Control
This one may seem less relevant to you, but if you ever find your code is working, but you get to the point you are scared to change anything in case it all breaks… Well GitHub has several tools to make sure you can roll back your code to the last working version, and keep track off all the changes you make between versions.
Working over several platforms and devices
GitHub is totally cross platform and you can easily share work across several platforms and different computers. Mostly code on your desktop at home, but have a lunch break and a work laptop? Using GitHub, we can work on our laptop, upload all our changes when we finish working, and pick up on our home computer without skipping a beat.
Sharing our code, working in Teams and Collaborating
Want other people to benefit from the hard work you put in? Learn from your solutions? No? Well, what if you want to work in a team, or ask people for help with your project? GitHub provides a simple platform to let us easily share (or keep private) our code to help working in teams and sharing ideas.
Keep 3rd party libraries up to date.
You can use GitHub to download many libraries not found in the Arduino library manager and keep them up to date with minimal effort.
Ok, so now I have thoroughly
convinced you of the merits of GitHub, how exactly do we use it?
Getting Started On GitHub
Before we start:
If you are on Linux, you will have to use command line git. I am not going to cover this here, as I want to keep things REAL simple. If this interests you, go and look up how to use command line git. It is not hard to pick up.
Windows and Mac people, you can also use command line git, but you can also use GitHub desktop and this is my preferred way to navigate all the projects I have synced on GitHub.
So with that out the way, lets start by creating an account on the GitHub website.

Make sure you verify your email address and we are ready to start using GitHub.
We could now start by creating a repository on the GitHub website, then either upload, copy & paste, or write code directly using their online text editor. However we are going to assume that we already have a project we are working on we want to store using GitHub.
First, I have created a quick sketch as a demonstration.
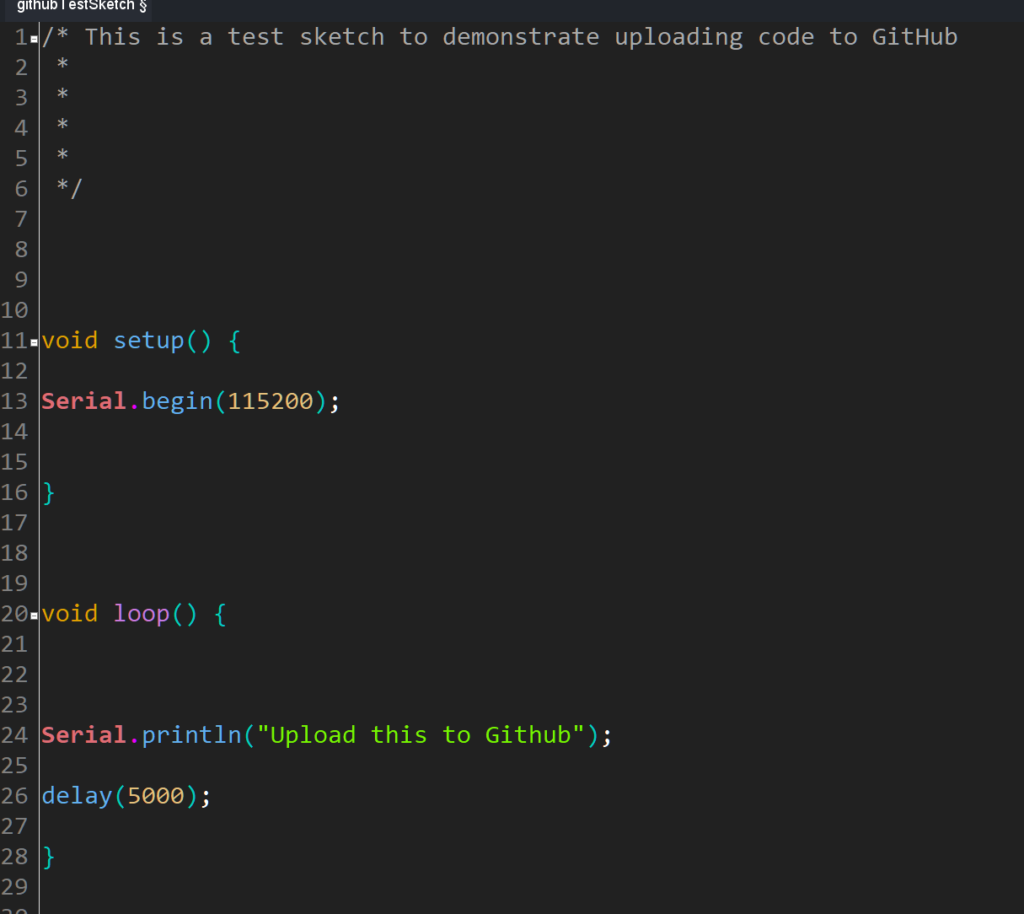
I have saved this as githubTestSketch. The Arduino IDE creates a folder for it with the same name and saves a .ino file containing the sketch into this folder.
The easiest way to manage files on our local machine or personal computer is to download and install the GitHub desktop app: https://desktop.github.com/
Once this is installed, run and sign into GitHub desktop using your GitHub login, this may bounce you back to a browser to complete the login process.
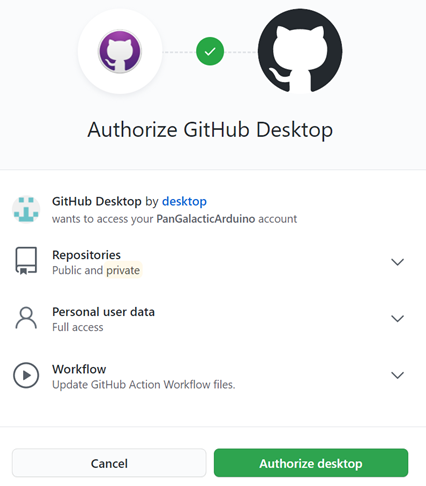
It may then bring up a popup showing “Open In GitHub Desktop” You should generally allow this popup when you see it if you want to use this software
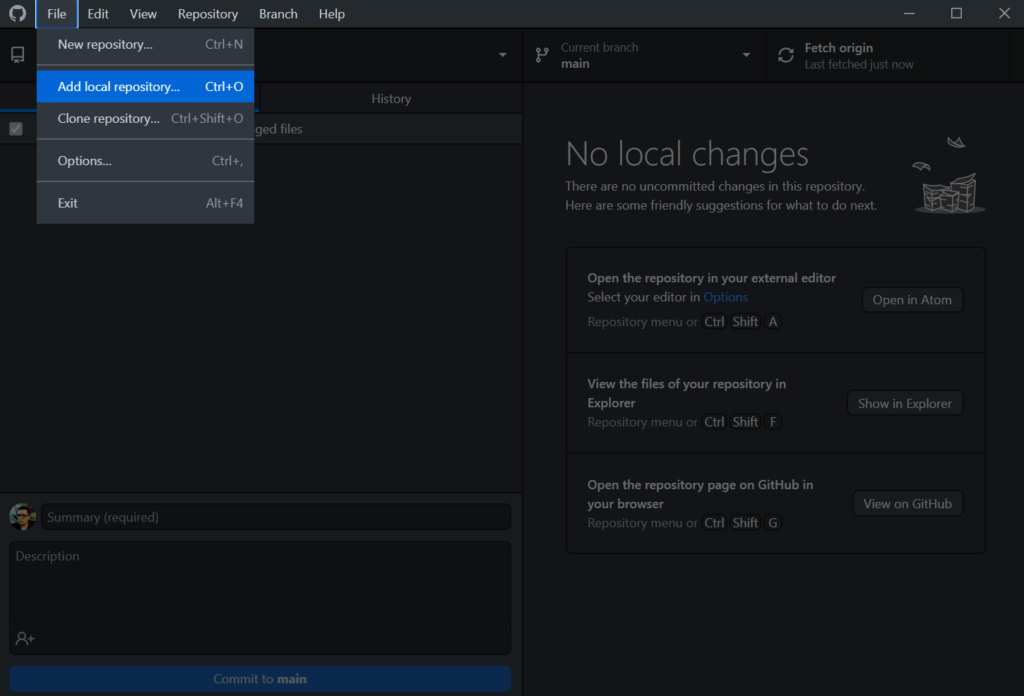
So now, to upload our project on our PC to GitHub we can navigate to file > add local repository.
Navigate to the folder that contains your sketch and select the entire folder. You will get the following warning.
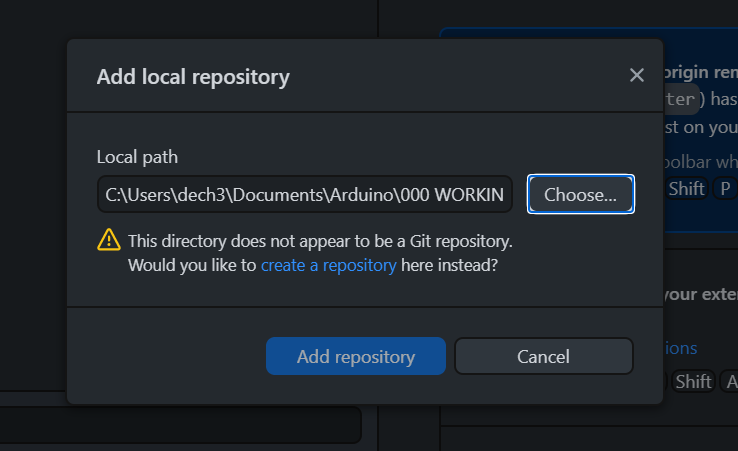
Here we need to click on create a repository.
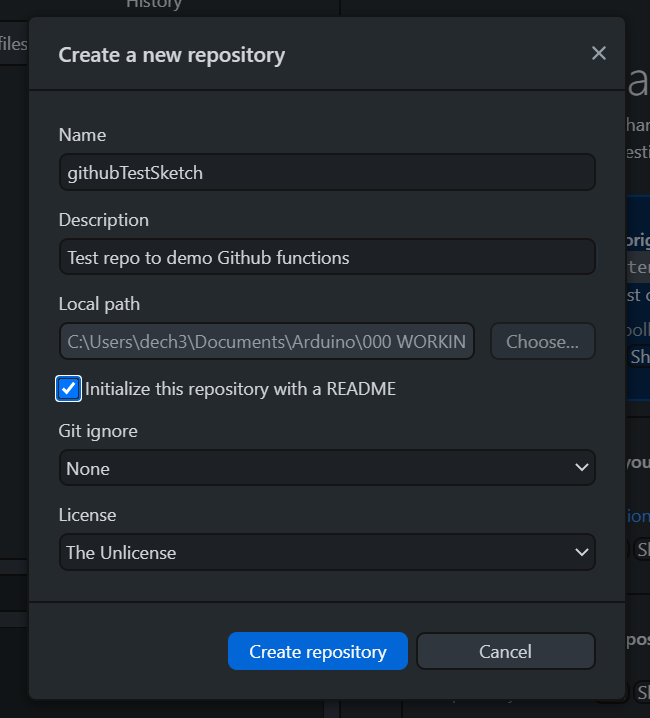
Next we can fill in some details about our project, give it a description, We can select initialize this repository with a README which is always worth doing so you can write some instructions for yourself or others about how to use your code.
We can ignore “Git ignore”, it is there so we can set GitHub to ignore certain types of files as we are uploading it, for now just leave it set to none.
Licencing is entirely up to you, but be aware of using other people’s code and obeying the terms of the licence they released their work under. Leave it at none if unsure for now, it can always be changed later.
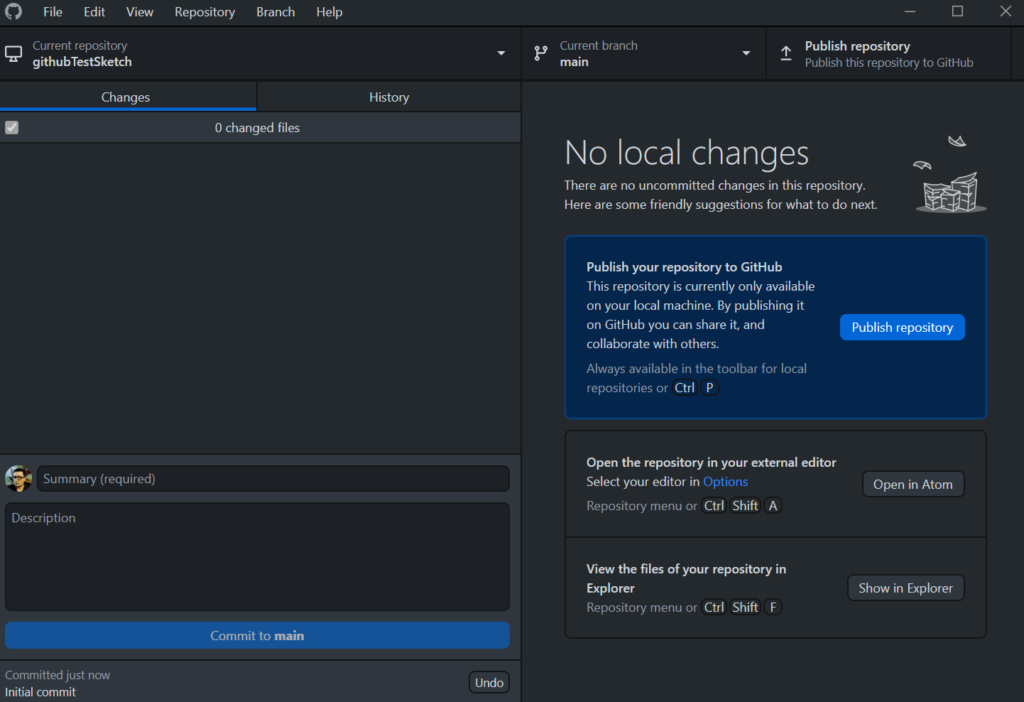
Click create repository and we are done, we now have a local Git repository, managed by GitHub desktop.
At this point we can continue to work on our code on the local machine, or we can publish our repository to GitHub.
For now, we will publish our repo. So, let’s click the Publish Repository Button.
This will bring up another dialogue where we can name our repository (for Arduino projects I recommend keeping this the same as the sketch folder name)
Add a description, choose whether to keep your code private so only you and specific team members can view it, or make it public, so that anyone can access your repo (they wont be able to make changes, only view and download your repo).
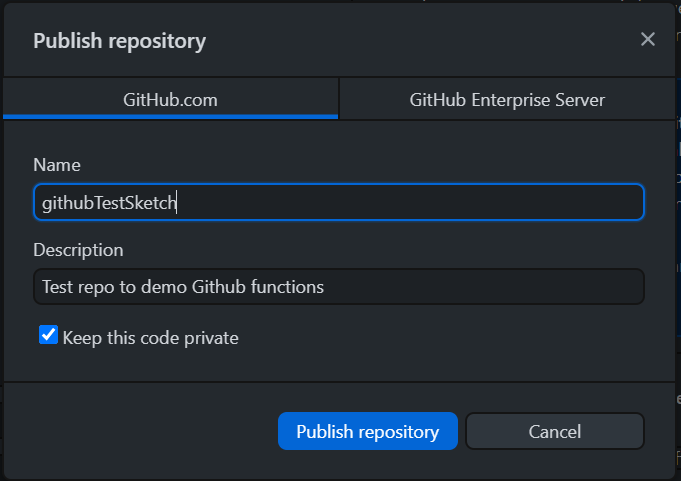
Then Publish Repository. And we are done, our code is backed up and ready to view on GitHub.
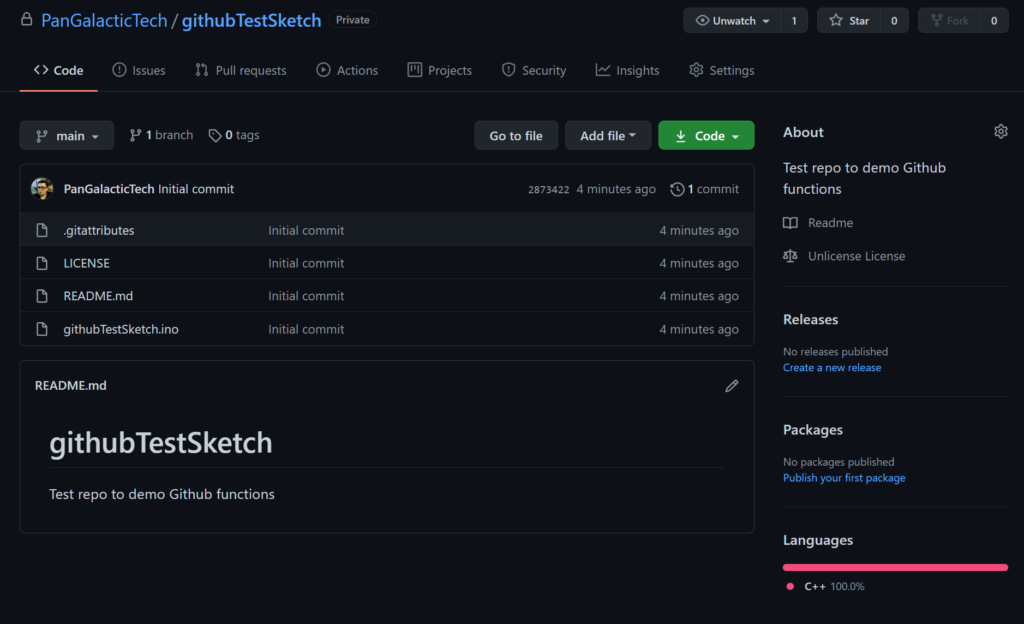
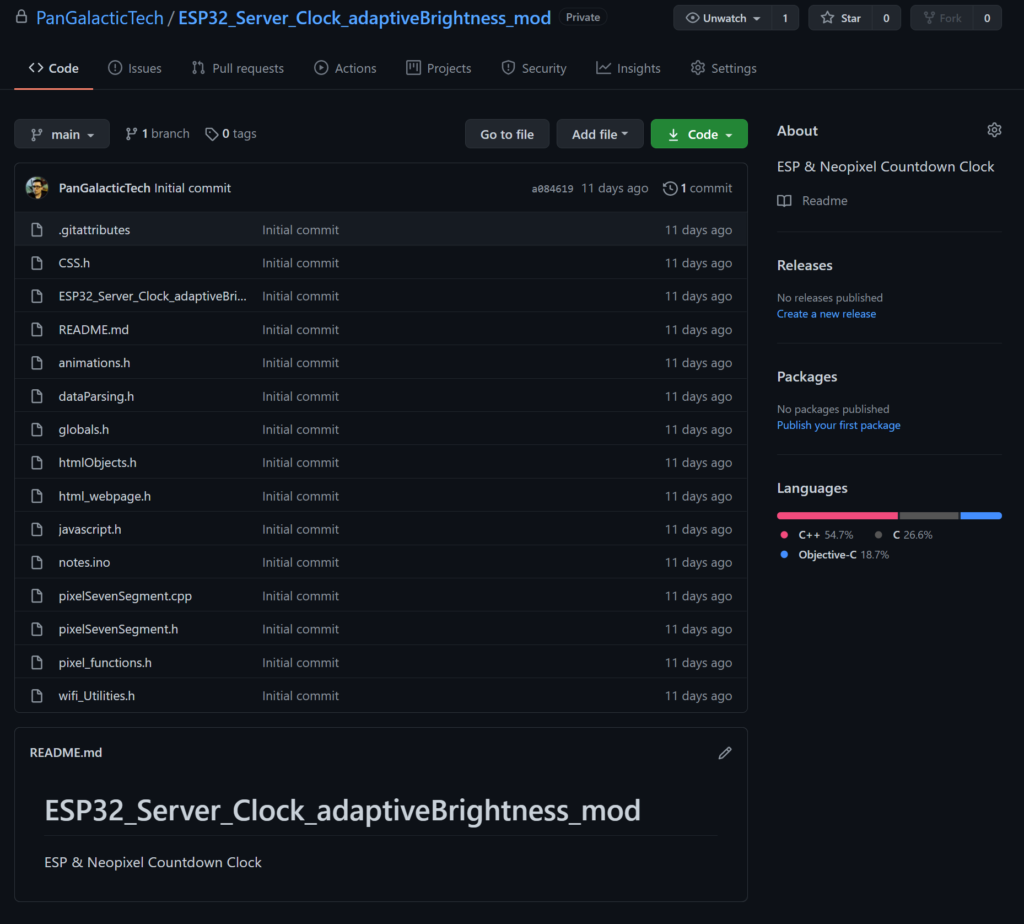
If we want to look at the repo on the GitHub website, click on the profile button in the top right-hand corner of the page, and navigate to “your repositories” to find a screen something like this:
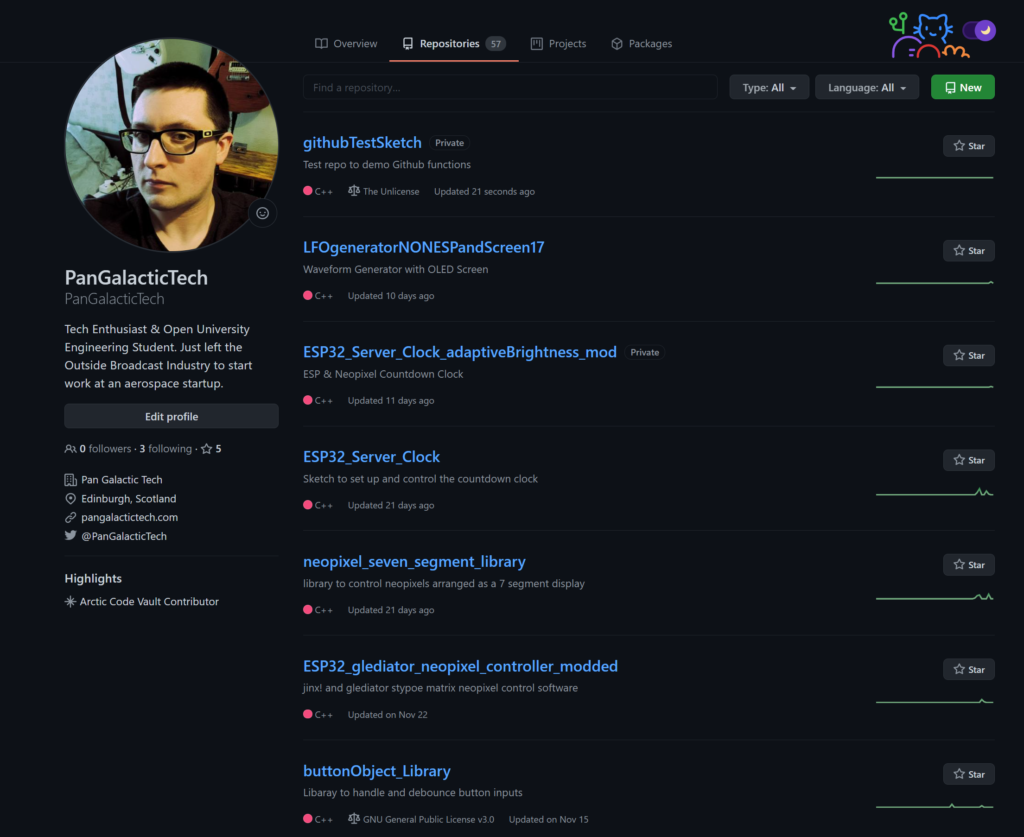
If we click on the repo we just created we can see our original Arduino file, the .ino file, as well as the licence doc, if you chose to add a licence, and a README file if you decided to add a README file. There is also a file called .gitattributes. We don’t need to interact with this file, Git will manage this on its own.
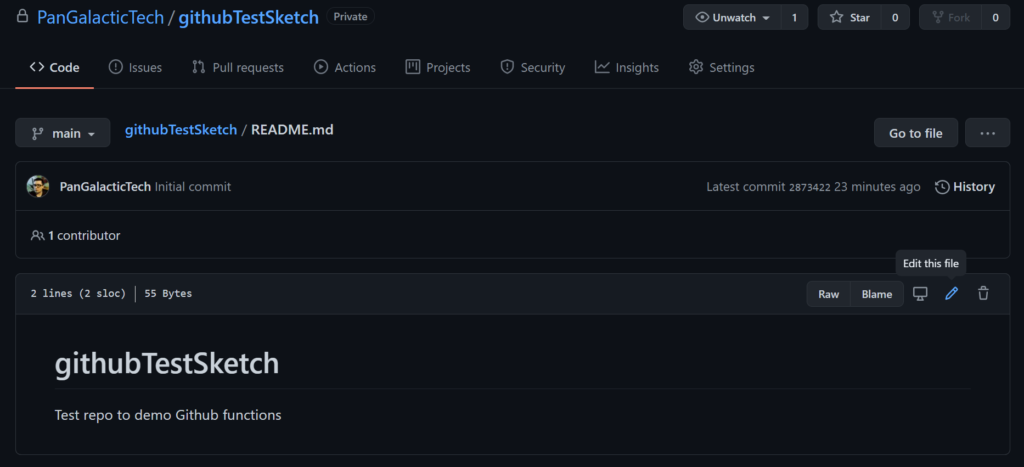
We can Click on README to open it up and add some instructions on how to use our code.
Click the edit file button.
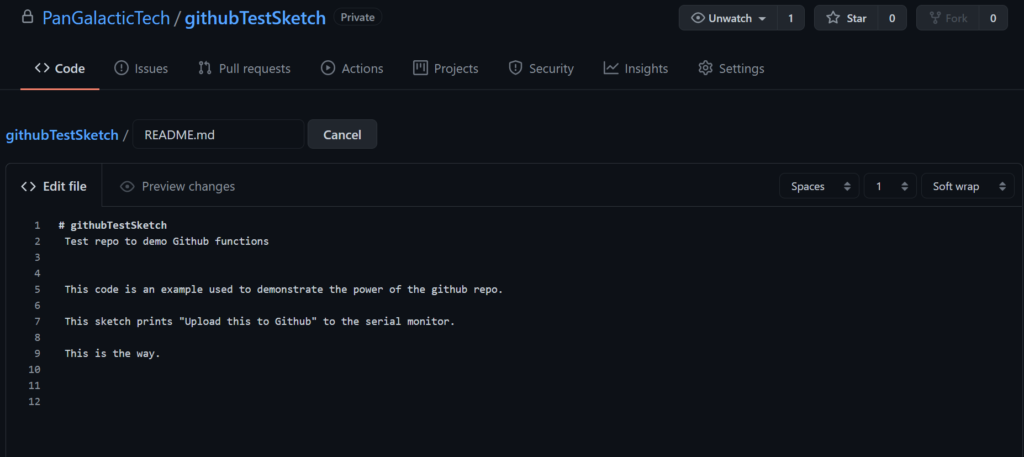
Adding some text.
We can then commit these changes directly to the main branch, adding a comment to explain the changes we have made. In this case it has suggested “update README.md” as a comment and this accurately describes the change I have made, so we can stick with that.
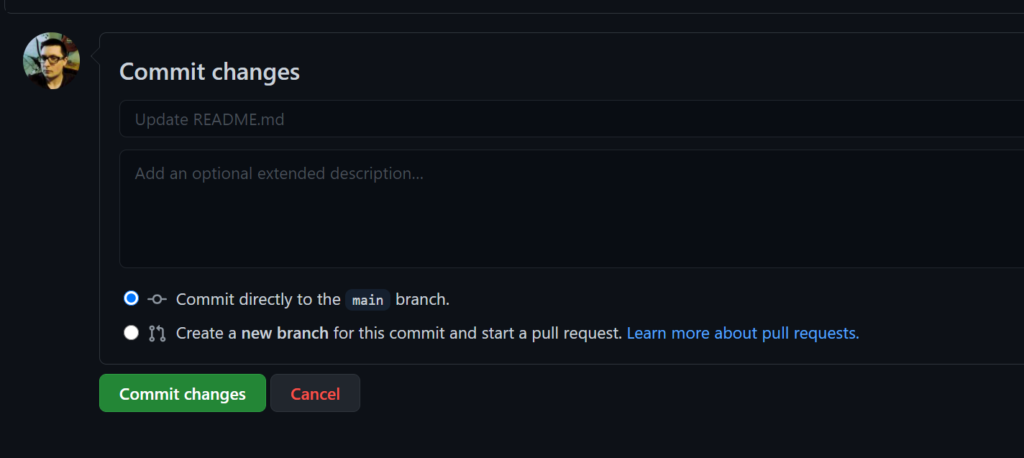
Click commit changes and they will be saved to the main branch of our repo. This now means the repo we have uploaded to GitHub has changes on it that are not included in the repo on our personal computer. So, the next step is to sync these two folders.
Fetching & Pulling
Now we have our repo, its important that changes we make in one location are maintained in the other locations. Luckily this is simple using GitHub desktop.
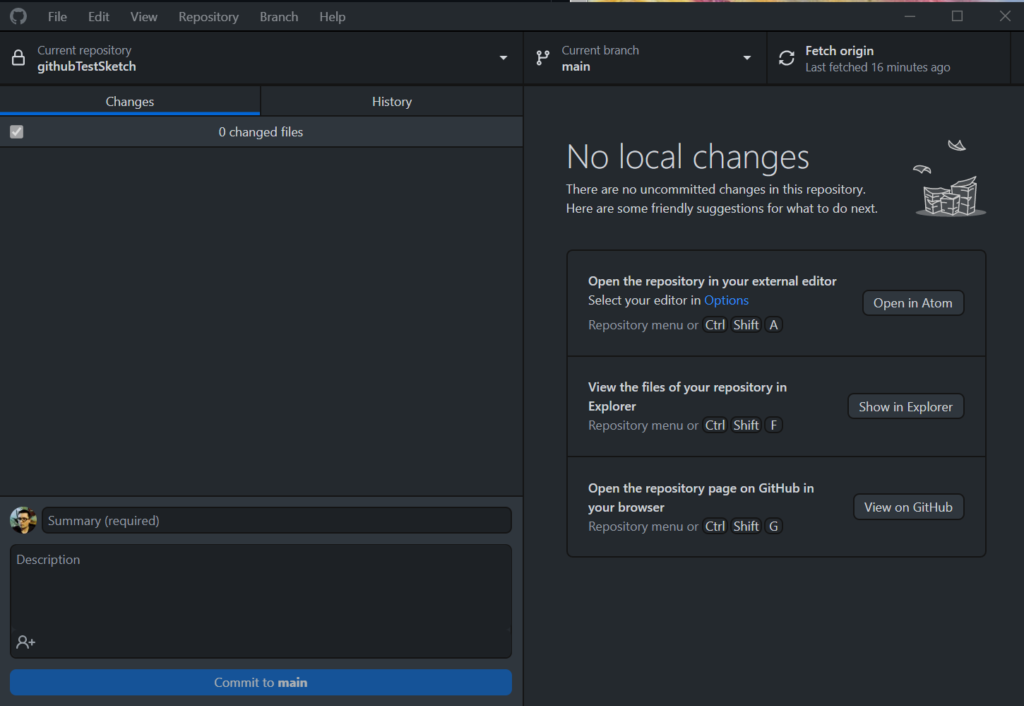
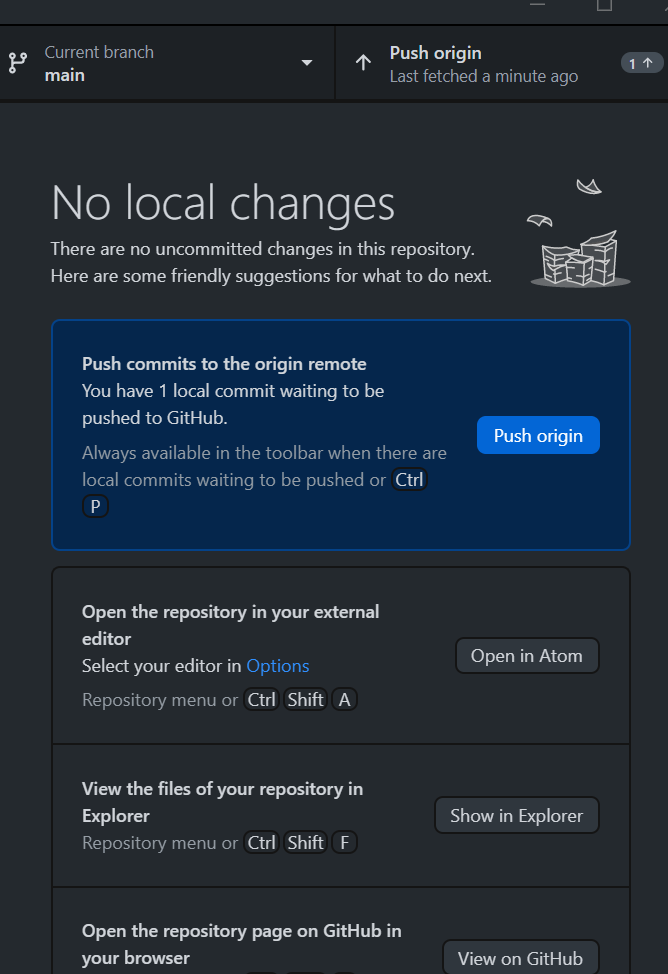
If we open the desktop program, we have a new button instead of publish repository, now we have the option to “Fetch Origin”, if we click this any changes we have made to our main branch will be updated on our local machine. Click Fetch origin.
GitHub desktop will alert us that we have 1 commit on our main branch that does not exist on our local repository.
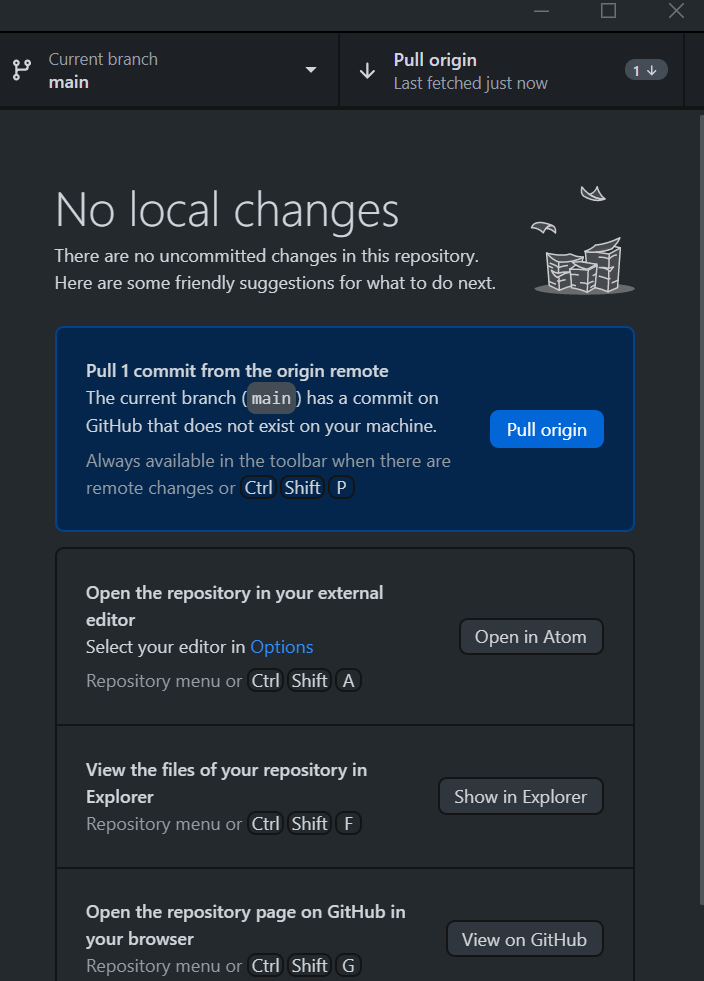
Click Pull Origin to update our local copy from main.
We can now open our repository in file explorer, our code editor or the Arduino IDE and see the changes we have made.
So now we know how to
pull down changes that have been made to our GitHub repo, what if we made some
change in our code locally and want to upload it?
Commit & Push
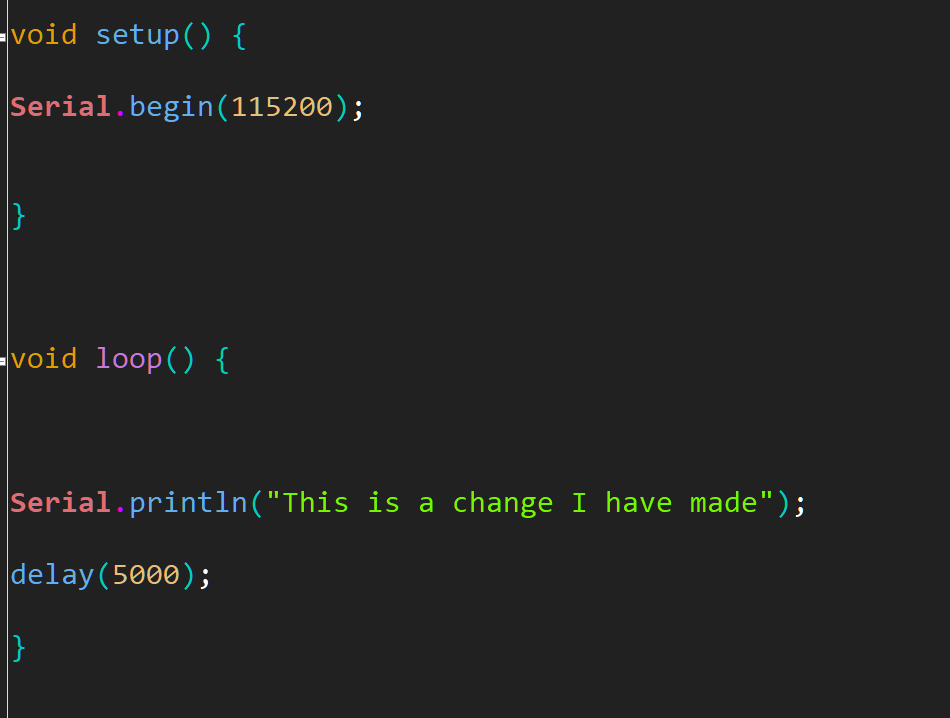
I quickly edited the sketch we are working on, just so we have some changes to track. Saved and closed the file.
Now when we return to GitHub desktop it will show the change we have made.
On the left hand side we can see we have made 1 change, it lists the files that have been changed, if a file is displayed with a green box it means it is a new file we have added to the repo. If it has a red box it is a file that previously existed which no longer exists, and an orange box shows us that there is some change to the text within our file.
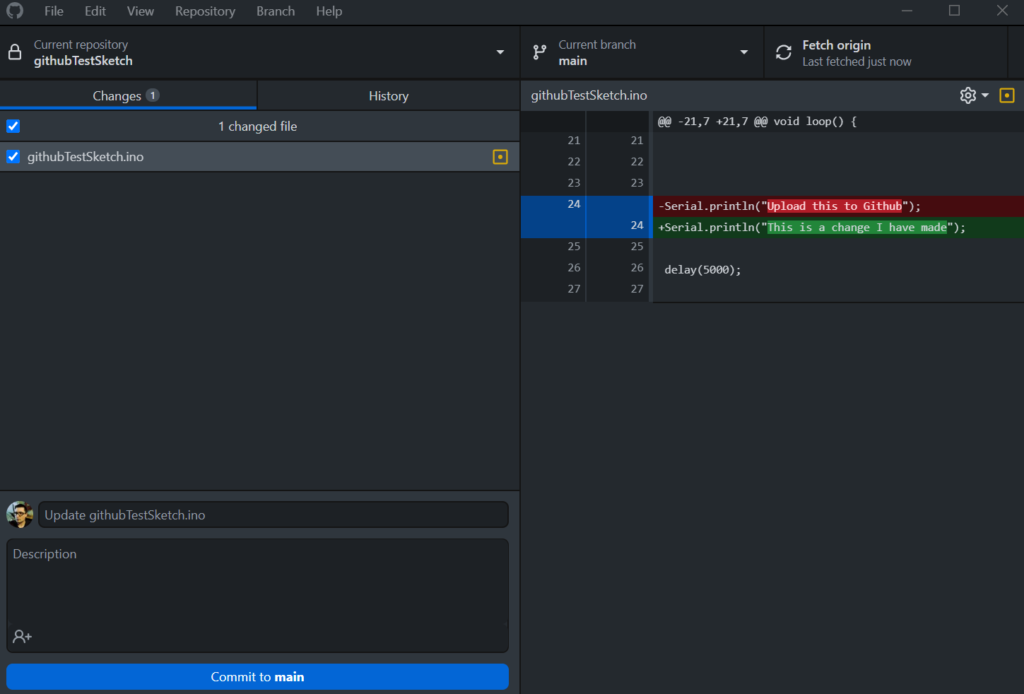
The right-hand side highlights the sections of new text in green, and it will show text that has been deleted in red.
We can Add a description of the changes we have made if we wish, and commit to main. This is our acknowledgement that we are happy with the changes we have made so we are submitting them directly to our main repo, there are alternatives to this which we will cover at another time. This is now saved under our main branch on our local repo. To upload our changes to our online repo. We can click on Push origin.
Our online repo is now back in sync with our
local repo.
This is pretty much all we need to use GitHub, there are many other tools and features it has but this covers 90% of its basic function. We will quickly cover just one more situation. If we are moving to a different computer and wish to clone our repo onto a second computer. Note: We can use the exact same method to download other people’s public GitHub repos to use ourselves.
Cloning a Repository
To clone a repo to a new machine, or to download any other publicly available repository, its as simple as a few clicks. First, we navigate to the repo we wish to clone from the GitHub website. In this case we are going to clone a repo I have been working on at work, on my work laptop, so I can work on this code on my home PC.
First click the Code button.
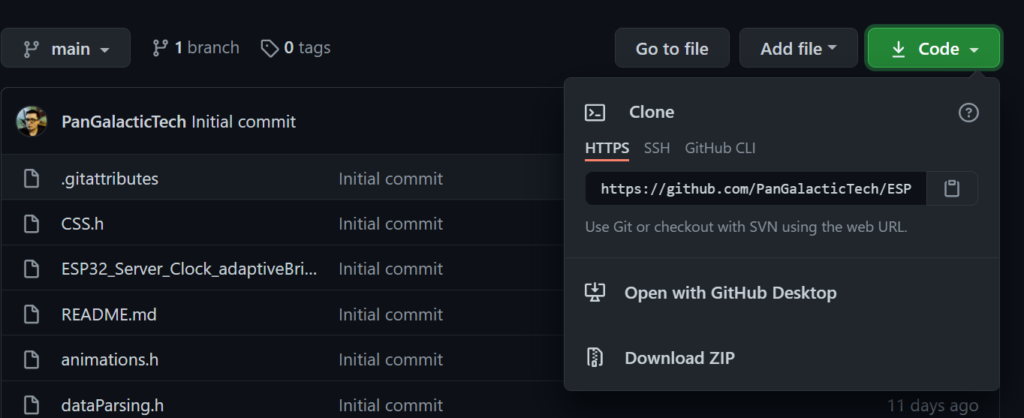
We now have several options to pick from; we have the option to download the repo as a zipped folder, we have an http link, which could be used with command line git, or we can open it with GitHub Desktop, either of these last options will create a local repository which we can keep up to date using GitHub desktop or command line git.
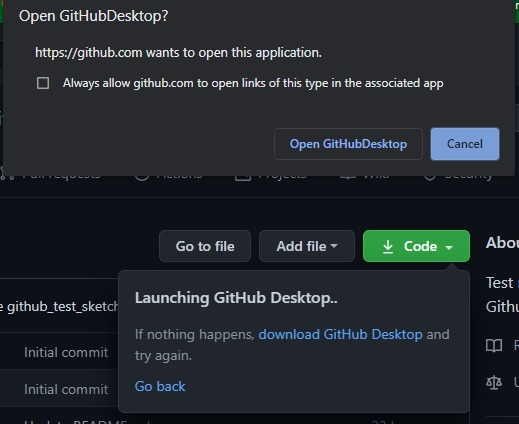
Therefore, in this case we select open with GitHub desktop. We may see a popup appear, asking us if we wish to open the link in GitHub desktop. If so, click open in GitHubDesktop.
We now have another popup, this will confirm the URL we are cloning from, and allows us to select a location on our local machine for the repo.
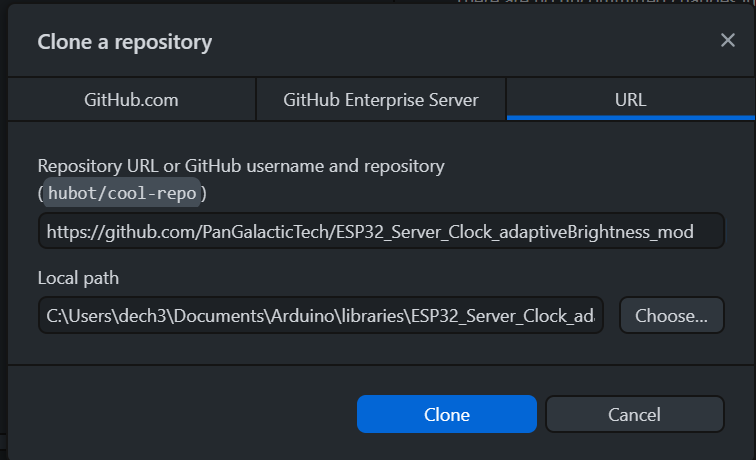
In this case I will save it into my Arduino sketch folder, however If I was downloading a 3rd party library, I could save the repo directly into my libraries folder, then keeping it updated is as simple as the methods we covered above, fetching and pulling from source.
If we are happy with the folder location, lets hit clone
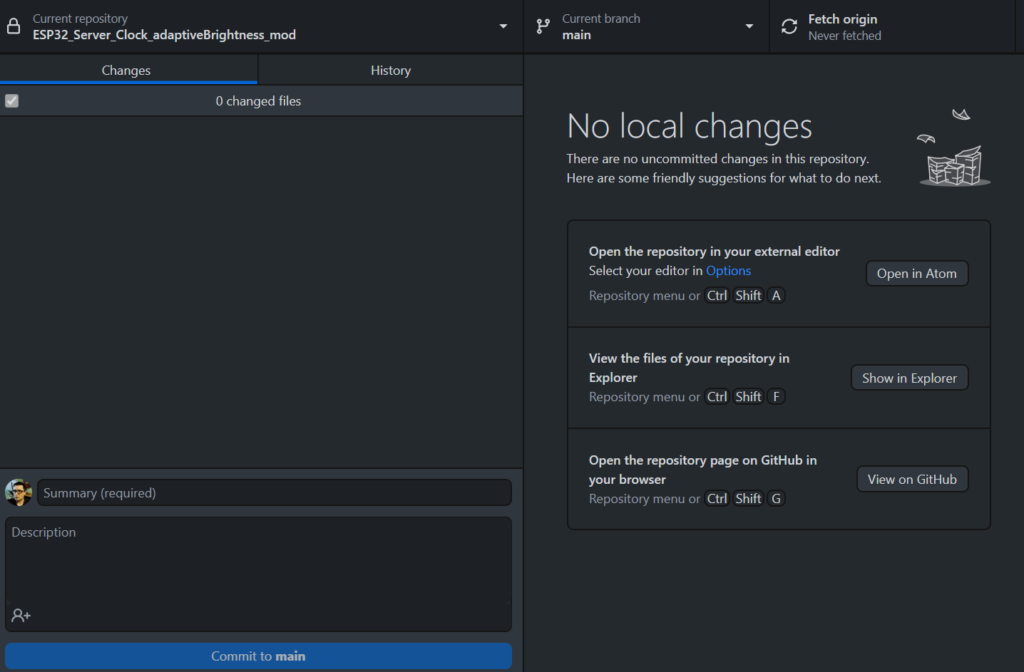
And we are done, Our repo has been cloned onto a different local machine, and we can use all the methods outlined above to sync any changes we make here with our main repo.
Conclusion
So now you know how to use GitHub try it out! The basic function is very useful, but you will find lots of other advantages to it, for example you can share a project with specific people and allow them to see and edit your code. You can branch your code so changes are made on a separate copy or branch until you are happy with the changes, at which point they can be merged in to your main branch. You can even ask people for help by writing an issue, or let others who use your code comment their own issues they find. People can even offer help and suggestions, which you can decide to merge into your own code if you want to.
Its more than just a way of storing and moving code and projects about, it’s a way of enabling a community to work, grow and solve problems together.